
Pen Tablet Studio · 20 November 2026
Pen Tablet Desk & Lighting Setup for Glare-Free Art Tutorials
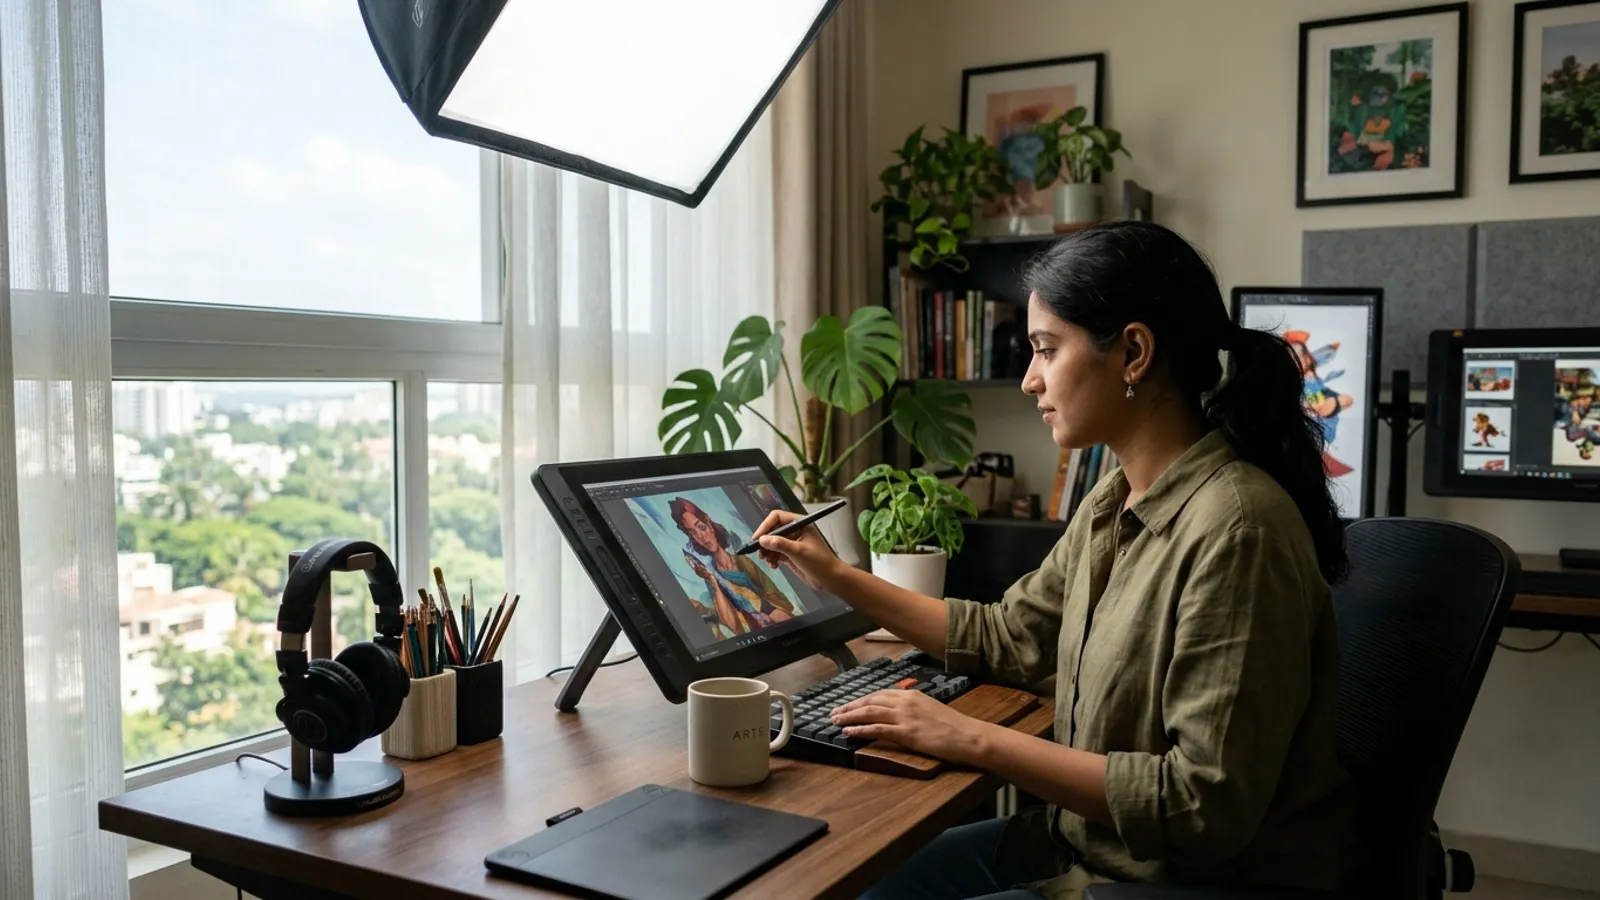
Arrange your pen tablet, laptop, camera and lights so your drawing tutorials look clean, with no glare, no hand shadows and no strained wrist.
 AI-generated illustration
Quick answer
Place the pen tablet directly in front of you, keep the laptop slightly off to one side at eye level, and mount the camera above or beside the desk on a stand so it never blocks your light. Use soft, diffused lights from the front-left (if you are right-handed) or front-right (if left-handed), so your drawing hand does not cast a shadow. Choose matte surfaces everywhere and keep your forearm supported, so the setup looks good and stays comfortable.
What does a good pen tablet recording desk look like?
Think of your desk as three zones that should not fight each other:
- Drawing zone: the pen tablet, your hand and forearm.
- Monitoring zone: the laptop or monitor where you see your canvas and recording software.
- Camera zone: the face camera and, if you use one, an overhead camera for the hand.
Keep your body centred on the tablet. Put the laptop slightly ahead and to one side, so you can glance at the canvas without twisting your neck. Keep the screen top near eye level. A laptop stand and a separate keyboard can help if your laptop sits low.
Leave enough clear desk space to the sides of the tablet for your shortcut keys, a water bottle and notes. A cluttered desk causes accidental knocks, and knocks cause retakes.
Which pen tablet type changes your setup?
Your tablet type decides where glare and hand position problems appear.
| Tablet type | Main setup challenge | What helps |
|---|---|---|
| Pen tablet (no screen) | Looking at the laptop while drawing on the tablet | Good screen position, practice, and a stable desk |
| Pen display (screen on tablet) | Glare and reflections on the glossy surface | Matte screen film, side lighting, and angled lights |
| Tablet with stand | Wrist angle and screen reflections | Adjustable stand and reduced overhead light |
If your tutorial shows the drawing itself, you can often screen-record the canvas and use a small face camera on top. The camera then mainly shows you, and your hand position matters less to the viewer.
How do I avoid glare on the tablet and laptop screen?
Glare appears when a bright light source reflects off a shiny surface towards your camera or eyes. Fix it at the source.
Move lights, don't just dim them
Place lights at about a 30 to 45 degree angle to the tablet instead of directly above or behind the camera. A light straight above a pen display often creates a bright reflection patch. Try small changes in the light angle and watch the camera preview as you move it.
Control windows and room lights
- Close curtains or blinds, or position the desk so the window is to the side.
- Avoid mixing daylight with LED lights, because colour and brightness can change during the recording.
- Switch off overhead tube lights if they reflect on your screen.
Use matte surfaces
- A matte screen protector for a pen display can reduce reflections.
- A matte desk mat under the tablet reduces bounce and gives the camera a calm background.
- Avoid glossy white paper, shiny tables and reflective stands in the camera frame.
How do I stop my hand from casting shadows?
Hand shadows happen when the main light comes from the same side as your drawing hand, or from behind you.
Use the opposite-side rule
If you are right-handed, put the main light on your left side, in front of you and slightly raised. Your hand then moves away from the light instead of blocking it. Left-handed artists should mirror this.
Add a soft fill light
A second, weaker light on the other side can soften any remaining shadows. Use diffusion, such as a softbox or a diffuser panel, so the light spreads evenly. Hard, small lights usually create sharper shadows and more glare.
Keep colour consistent
Use lights with the same colour temperature, and set your camera's white balance manually so skin and artwork colours do not drift mid-video. If your tutorial depends on colour accuracy, check lights that list a high colour rendering quality (CRI), and verify the result on your own screen.
Where should I place the camera for a drawing tutorial?
You have three common choices.
Face camera only
Mount a webcam or camera at eye level, near the laptop. It captures your explanation while the screen recording captures the art. This is the simplest setup for most teachers and creators.
Overhead hand camera
If you want viewers to see the pen on a tablet or on paper, mount a camera on an overhead arm or boom stand above the drawing area. Check that:
- the arm does not cast a shadow on the tablet,
- the camera sits slightly to the side if your head blocks the light,
- the frame shows the tablet fully with a little margin.
Two-camera setup
A face camera plus an overhead camera can make the video more engaging. It also adds complexity in switching and editing, so begin with one camera and add another once your basic workflow is steady.
Avoid flicker
In India, mains power runs at 50 Hz. If your lights or screens flicker on camera, try matching your camera's shutter speed to a setting that suits 50 Hz lighting, such as 1/50 or 1/100, and use quality dimmable LED lights. Always run a short test before recording a full lesson.
How do I keep my hand and wrist comfortable?
An awkward position hurts the artist and often looks awkward on camera too.
- Chair and desk height: your elbow should rest near a relaxed right angle, with shoulders loose.
- Tablet position: place it near the desk edge so your forearm is supported, not hanging in the air.
- Tablet angle: a slight tilt, if your tablet supports it, can reduce wrist bending.
- Forearm support: a smooth sleeve or a drawing glove can reduce friction and help your hand glide.
- Breaks: pause between segments, stretch your hand, and shake out your shoulders.
If you have persistent pain, speak to a qualified health professional rather than relying on a setup guide.
What other small things spoil a pen tablet recording?
- Pen tapping noise: hard taps on the tablet can be picked up by a nearby mic. A lavalier mic or a mic placed away from the tablet usually helps.
- Messy cables: clip cables along the desk edge so the tablet cable does not pull on your hand.
- Screen clutter: close notifications and unneeded toolbars before recording.
- Cropping: record at a resolution that keeps brush details visible on mobile screens.
Quick pre-recording checklist
- Tablet centred, laptop slightly offset, camera framed.
- Main light on the non-drawing side, with diffusion.
- No reflections on the screen or tablet.
- White balance and exposure locked.
- Audio checked with pen movement and tapping.
- A 30-second test clip reviewed on both laptop and phone.
FAQ
Should I use a pen tablet or a pen display for tutorials?
Both can work well. A standard pen tablet is simpler for lighting because there is no screen to reflect light, while a pen display lets you draw directly on the image but needs more care with glare and angles. Choose based on your teaching style, comfort and the way your audience watches.
How many lights do I need for a pen tablet studio?
Many setups start with one soft key light and, if needed, a second fill light or a small background light. The right number depends on your room, desk size and camera. A planned layout is usually better than adding more lights at random.
Can I record with my phone camera?
Often yes, if it is mounted on a stable stand with fixed focus and exposure. Check that the phone does not overheat or switch focus when your hand moves, and test a few minutes before recording a full tutorial.
If you want a desk, lighting and camera layout planned around your pen tablet, your room and your teaching style, request a studio quote from Smart Infovision. Our team can help you design a setup that stays clean, comfortable and practical for regular recording.
 Related setupExplore Pen Tablet Studios )}
Quote
Request your studio quote
Tell us about your room and the studio you have in mind. The Smart InfoVision sales team will get back to you to plan the next step.
Helpful to share
- Your name and city
- The studio type you have in mind
- Room size and layout
- Equipment you already own
- Budget and timeline, if you have them